
Behind the Scenes: My Home Studio Setup
- Violet Nodens
- Nov 3, 2025
- 4 min read

Setting up a home studio can feel overwhelming at first. There are countless options for equipment, layouts, and designs. Yet, creating a space that fits your creative needs and workflow is possible with thoughtful planning. I want to take you behind the scenes of my home studio setup, sharing practical tips and insights based on my experience. Whether you’re a content creator, musician, podcaster, or hobbyist, this guide will help you build a functional and inspiring workspace.
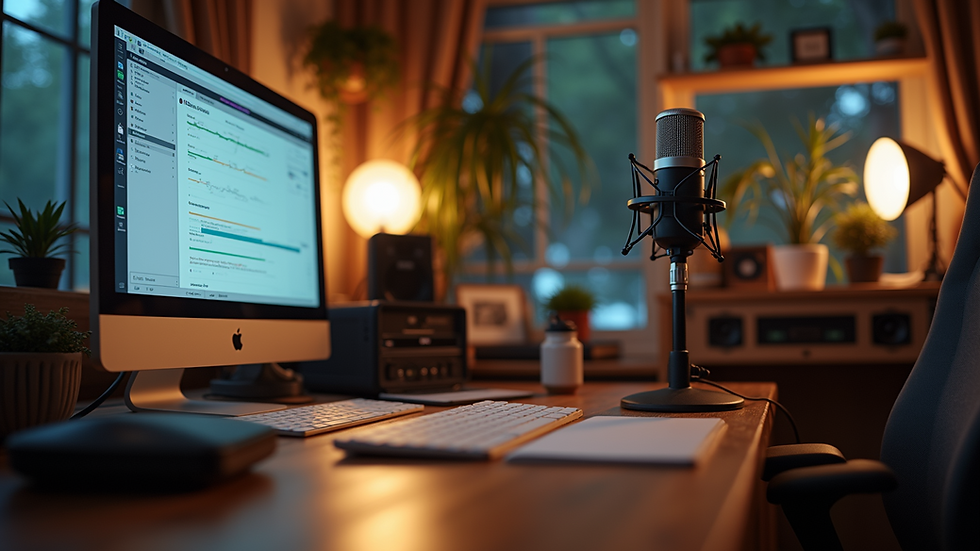
My home studio setup featuring a compact desk, microphone, and ambient lighting for a productive environment
Choosing the Right Space
The first step is picking the right room or corner for your studio. Ideally, this space should be quiet and free from distractions. Here are some factors I considered:
Size: A small room works well if you don’t need a lot of gear. I chose a spare bedroom that fits my desk, chair, and shelves comfortably.
Noise: Avoid rooms near busy streets or noisy appliances. Thick walls or rooms with fewer windows help reduce outside noise.
Lighting: Natural light boosts mood, but direct sunlight can cause glare on screens. I use blackout curtains to control light and add soft lamps for warmth.
If you don’t have a dedicated room, a quiet corner with room dividers or soundproof panels can work. The goal is to create a space where you can focus without interruptions.
Essential Equipment for a Home Studio
Your gear depends on your creative goals. Here’s what I found essential for my setup:
Desk: A sturdy desk with enough surface area for your computer, audio interface, and other tools. I use a desk with adjustable height to switch between sitting and standing.
Computer: A reliable computer with enough processing power to run editing software smoothly. I chose a laptop for flexibility but keep it connected to a larger monitor.
Microphone: A quality microphone is key for clear audio. I use a condenser mic with a pop filter to reduce unwanted noise.
Audio Interface: This device connects your microphone and instruments to your computer. It improves sound quality and reduces latency.
Headphones: Closed-back headphones help monitor sound without bleed. I recommend investing in a pair with good comfort for long sessions.
Speakers: Studio monitors provide accurate sound for mixing and editing. I placed mine on stands to reduce vibrations and improve clarity.
Lighting: Adjustable LED lamps with warm tones create a comfortable atmosphere and reduce eye strain.
Organizing Cables and Accessories
Cable clutter can make a studio feel chaotic and distract from creativity. I use these strategies to keep cables tidy:
Cable ties and clips: Bundle cables together and secure them along desk edges.
Under-desk trays: Hide power strips and excess cables out of sight.
Labeling: Mark cables with tags to quickly identify connections.
Wireless options: Where possible, I use wireless keyboards and mice to reduce cable count.
Keeping cables organized not only looks better but also prevents accidental unplugging or damage.
Sound Treatment and Acoustics
Good sound quality depends on more than just equipment. The room’s acoustics play a big role. Here’s what I did to improve mine:
Acoustic panels: I installed foam panels on walls to absorb echoes and reduce reverb.
Bass traps: Placed in corners, these help control low-frequency sounds.
Rugs and curtains: Soft materials absorb sound reflections and prevent harshness.
Furniture placement: I avoid placing speakers too close to walls and keep the desk centered for balanced sound.
These adjustments made a noticeable difference in recording and mixing clarity.
Creating a Comfortable and Inspiring Environment
A studio should feel inviting and motivate you to create. I added personal touches to make the space mine:
Plants: Small indoor plants add life and improve air quality.
Artwork: Posters and prints inspire creativity without cluttering walls.
Comfortable chair: Ergonomic seating supports long hours without discomfort.
Temperature control: A fan and heater keep the room comfortable year-round.
Lighting also plays a big role. I use warm LED strips behind my desk and soft lamps to create a cozy vibe.
Workflow and Productivity Tips
Designing your studio with workflow in mind saves time and frustration. Here’s how I set mine up:
Zones: I divided the space into recording, editing, and relaxation areas.
Accessibility: Frequently used gear stays within arm’s reach.
Cable management: As mentioned, tidy cables prevent distractions.
Backup system: I keep an external hard drive for regular backups.
Software shortcuts: Customizing shortcuts speeds up editing tasks.
Having a clear workflow helps me stay focused and finish projects efficiently.
Budget-Friendly Alternatives
Building a home studio doesn’t have to break the bank. Here are some budget-friendly tips:
Secondhand gear: Look for used microphones and audio interfaces in good condition.
DIY acoustic panels: Use thick blankets or foam mattress toppers as temporary sound absorbers.
Free software: Many free or low-cost editing programs offer powerful features.
Repurpose furniture: A sturdy dining table can serve as a desk.
Smart lighting: Affordable LED bulbs with adjustable color temperature improve ambiance.
Invest in key items like a good microphone and headphones first, then upgrade other gear over time.
Final Thoughts on Building Your Home Studio
Creating a home studio is a personal journey. It takes time to find the right setup that fits your style and needs. Focus on building a space that supports your creativity and workflow. Start with the essentials, organize your gear, and improve your room’s acoustics. Add personal touches to make the space inviting and comfortable.
Your studio should be a place where ideas flow easily and projects come to life. Take small steps, experiment with layouts, and adjust as you go. With patience and care, your home studio will become a valuable creative hub.
If you’re ready to start your own home studio, begin by choosing your space and listing your must-have equipment. Remember, the best studio is one that works for you. Happy creating!
Comments